SOUNDSTOP Installation Guidelines
Print Version
1. Preparation, Application and Precautions for All Installations.
- Prior to installation, store SOUNDSTOP in a dry, level area protected from weather and damage.
- Store at a location where humidity and temperature duplicates those during installation.
- SOUNDSTOP must always be installed behind gypsum drywall in wall and ceiling applications, or between two layers of subflooring in flooring applications.
- Proper sized mud rings must be installed to extend electrical boxes.
- Fasten SOUNDSTOP with drywall screws or drywall nails that are long enough to penetrate the framing member by ¾” (19.1 mm).
- Allow a 1/8″ (3.2 mm) gap between adjoining SOUNDSTOP panels; at wall, floor and ceiling junctures; and around door and window openings. This gapping allows for natural expansion and contraction of the SOUNDSTOP panels.
- Seal floor, ceiling and wall perimeters and gaps with acoustical caulk prior to drywall application.
- Maximize use of full SOUNDSTOP panels to minimize the number of seams or joints.
- Without adequate thermal protections, SOUNDSTOP must not be used in close proximity to chimneys, heating units, fireplaces, steam pipes, or other surfaces which could provide excessive heat exposure.
- In ceiling applications where recessed lighting is used, lighting fixtures shall be UL certified, Type IC rated and installed according to the manufacturer instructions on clearance distance to combustible materials.
- SOUNDSTOP should not be used as an exposed surfacing. Gypsum drywall provides the needed fire resistance.
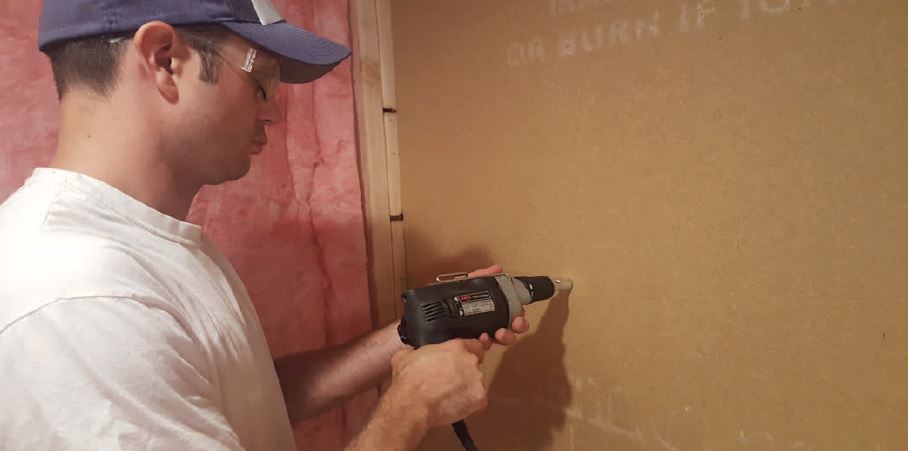
- SOUNDSTOP is a wood Warning: Combustible; may smolder or burn if ignited.
- After application of SOUNDSTOP, it is recommended that the drywall be applied as soon as practical.
2. How do I install SOUNDSTOP on walls and ceilings, over existing gypsum drywall?
 First make sure that all light switch and electric outlet covers are removed.
- Surfaces must be free of any objects protruding from the walls and ceiling.
- Proper size mud rings must be installed to electrical boxes before securing SOUNDSTOP.
- Avoid back to back wall penetrations (electrical outlets, etc.) in the same common wall.
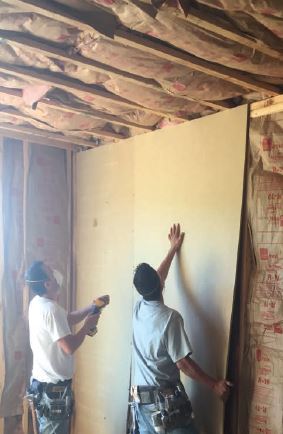
- In wall applications, SOUNDSTOP panels should be applied vertically to the framing.
- Apply SOUNDSTOP by using drywall screws or drywall nails that are long enough to penetrate the wall stud or ceiling joist ¾” (19.1 mm).
- Place a drywall nail or screw in each corner of SOUNDSTOP; and nails or screws across the middle of each board. Always secure nails or screws to studs.
- Then apply a bead of acoustical caulk where SOUNDSTOP meets the ceiling, floor and the sides of the walls.
- Ensure that gypsum drywall joints are staggered, and do not coincide with SOUNDSTOP joints.
- Drywall should be fastened through SOUNDSTOP into the framing member.
- Use regular drywall fastening pattern to install, making sure that the drywall screws or drywall nails are long enough to penetrate through the drywall and SOUNDSTOP and into the ceiling joist or the wall stud at least ¾” (19.1 mm).
3. What is the best way to install SOUNDSTOP in new wall construction?
- Apply SOUNDSTOP vertically with the studs, using proper size drywall nails or screws. All edges of the panel must fall on framing.
- Place a drywall nail or screw in each corner of SOUNDSTOP, and one nail or screw in the middle of each board.
- Then apply a bead of acoustical caulk where SOUNDSTOP meets the ceiling, floor and the sides of walls.
- After application of SOUNDSTOP, it is recommended that the gypsum drywall be applied as soon as practical.
- Install the drywall horizontally using the standard drywall fastening pattern. Drywall should be fastened through SOUNDSTOP into the framing member. Proper sized fasteners are required to penetrate the drywall and SOUNDSTOP, and enter the framing member by ¾” (19.1 mm).
4. How do I install SOUNDSTOP on ceilings in new construction?
- Make sure proper sized mud rings are installed to the electrical boxes before SOUNDSTOP and drywall are installed.
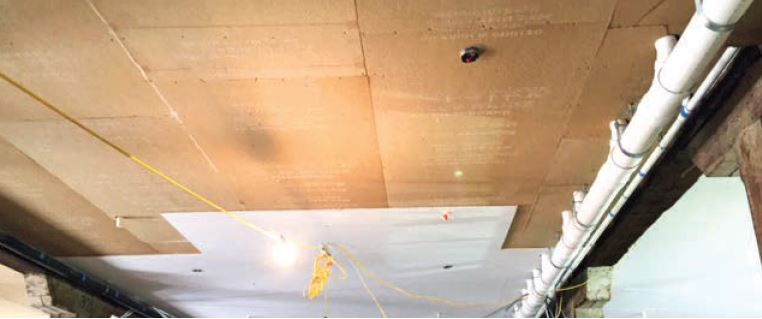
- In ceiling applications, apply SOUNDSTOP parallel with joists. All edges of the panel must fall on framing.
- Next, place one drywall nail or screw in each corner of SOUNDSTOP and a row of drywall nails or drywall screws across the middle of each SOUNDSTOP sheet. If the outside edges of SOUNDSTOP are not secure, more fastening may be required.
- Run a bead of acoustical caulking around the edges of the ceiling after fastening the SOUNDSTOP, but before installing the drywall.
- After application of SOUNDSTOP, it is recommended that the drywall be applied as soon as practical.
- Using the standard drywall fastening pattern, attach the drywall perpendicular to SOUNDSTOP, ensuring that no seams of the drywall and SOUNDSTOP line up.
- Gypsum drywall should be fastened through SOUNDSTOP and into the framing Proper sized fasteners are required to penetrate the dry wall and SOUNDSTOP and enter the framing member by ¾” (19.1 mm).
5. Can carpet or other finished floor coverings be installed directly over SOUNDSTOP?
- SOUNDSTOP is not a structural product and because of its compressibility, it should not be applied directly under carpeting or other finished floor coverings.
- Sandwich SOUNDSTOP between layers of subflooring.
- After walls and partitions are in place, apply SOUNDSTOP at right angles to the subfloor.
- SOUNDSTOP should not be used under partitions or walls.
- Then apply a 5/8″ (15.9 mm) plywood subfloor on top of SOUNDSTOP before the carpet or floor covering is installed. Fasten the subfloor covering through SOUNDSTOP and into the subfloor below.
Follow Us